Showing posts with label food. Show all posts

Friday, November 11, 2011

Pretty Pretty Fall Cupcakes!


Fall has arrived, with its gorgeous colors and crisp cool air, this is the perfect time for a bonfire. The hubby has soup cooking in the Crockpot, and I set about to baking. I wanted to make these from scratch but time did not permit that, so I used some good old Duncan Hines cake mix with some Betty Crocker frosting. Sometimes you just can’t go wrong with convenience.

Here’s what I used:


I had two cupcake pans handy too so that saved me some baking time, seeing as how a box of mix makes 24 cupcakes. I used the Betty Crocker whipped cream cheese icing which was FABULOUS as far as spreading over the cupcakes when they were cooled.

To begin, preheat the oven to 350 degrees. Gather your pans, mixes, and ingredients as listed on the box of cake mix. I used my vintage Tupperware mixing bowl with the little spout so I can pour the mix into the papers. I have used this since I was a little girl. (Thanks Mom, this little guy is still going strong!)


Mix the ingredients together as directed then place the cupcake papers in the pan.


Now you can start pouring the batter!


After all the batter is poured, stick these babies in the oven for about 20 minutes.


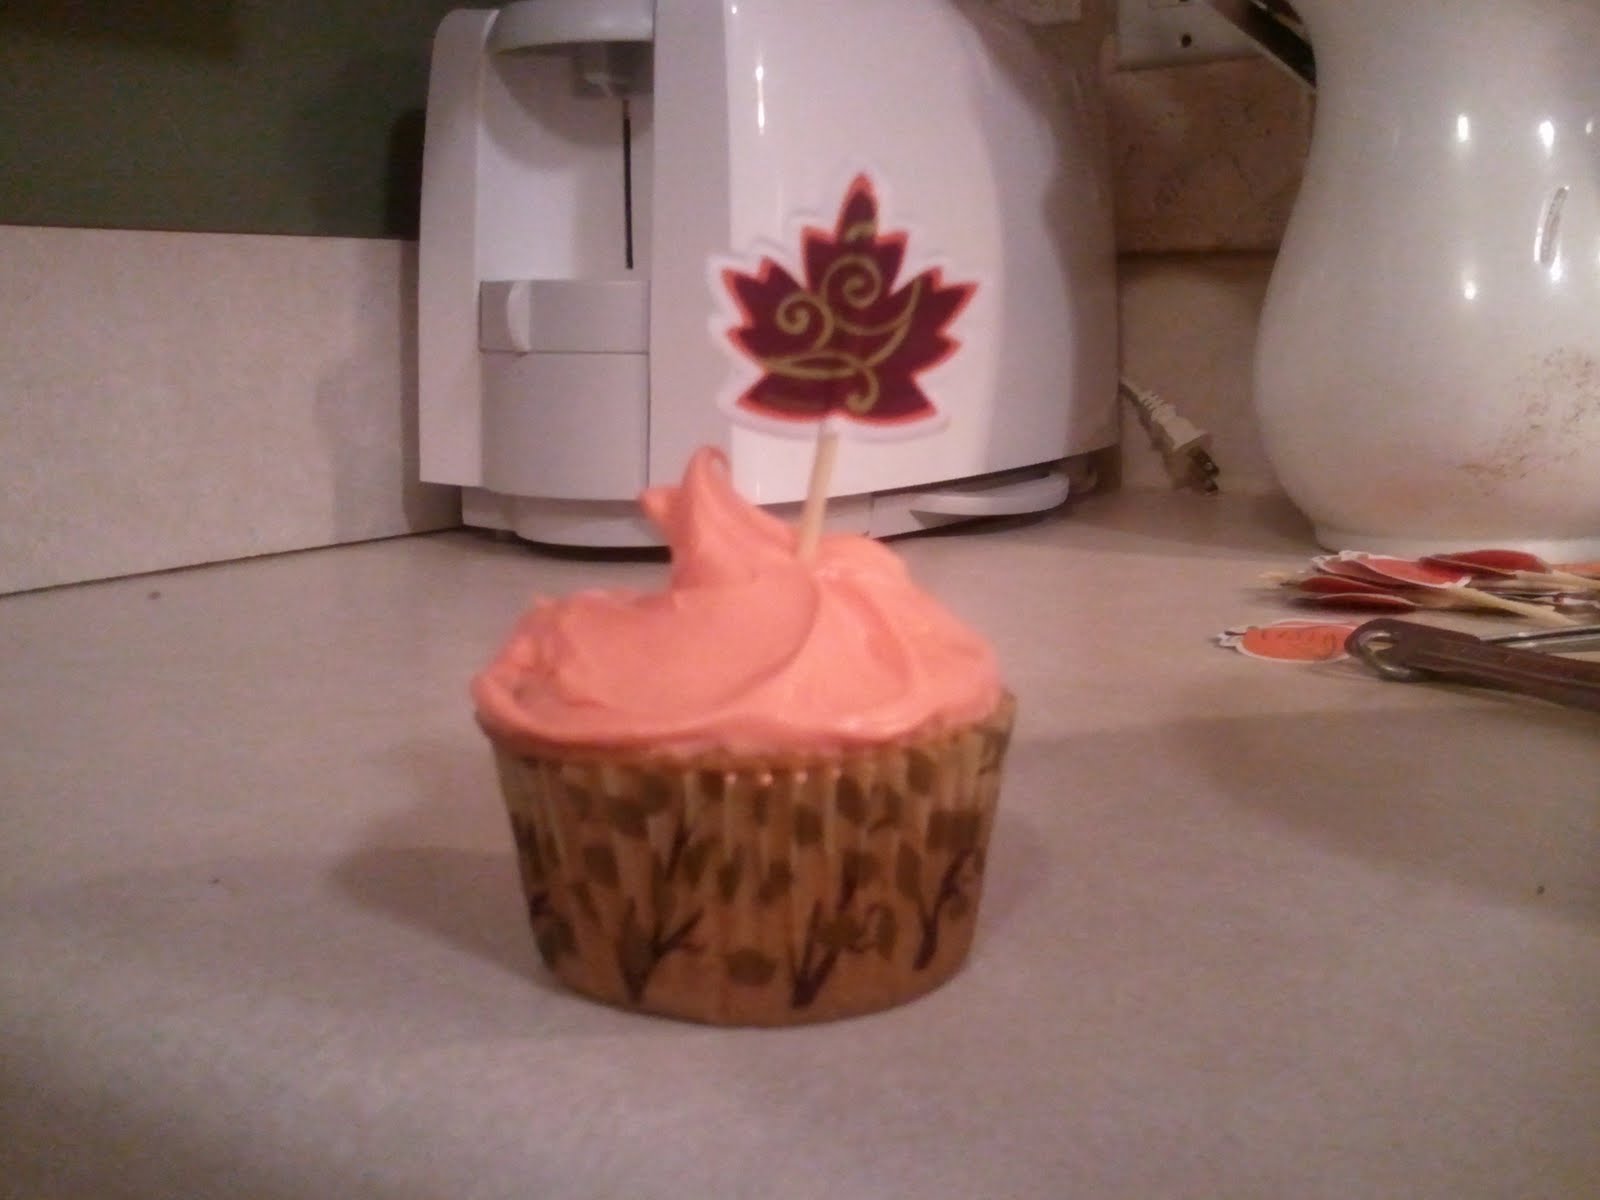
I wanted to make my cupcakes to be slightly customized, so I emptied the frosting into a bowl and used food coloring (yellow and red) to color the frosting orange. This frosting was excellent to work with.


I was very pleased at the color of orange the colors made, you can’t really tell in the picture below, but it’s really pretty. Promise.


In addition to colored frosting, I used cute little papers with toothpick leaves and pumpkins to top them. (That way it LOOKS like they could have been made from scratch…he he hee!!)


By the time you finish mixing the colors to the desired shade, the cupcakes will be ready to come out of the oven. Oohhh look!


Let them cool for another 15-20 minutes, then apply the frosting. Top off with a cutie patootie toothpick, arrange on a cute plate, and Ta daaa! Pretty Pretty Fall Cupcakes!!

Thursday, November 3, 2011

Trick-or-treat, smell my feet, we have too many leftover Halloween treats to eat!

2011 – A.K.A the great Halloween candy giveaway that never was. 

This summer, we moved to a town two hours south of where we had been living, into a neighborhood FULL of kids.  I was so excited!  Halloween is my favorite holiday and we’d not had trick-or-treaters in several years because of where we lived.  I dug through blogs and found the perfect treat – marshmallow pops, dipped in melted candy to look like candy corn.  Wouldn’t you know, after making 112 treats, which I was so proud of, we had fewer than 15 trick-or-treaters?  I’ll remember this for next year and knowing my luck, we’ll end up with hundreds! :) *sigh* Oh well.  

The marshmallow pops are simple to make and oh, so yummy!!   I’m envisioning red candy with peppermint flavoring for Christmas or Easter Egg colors in the spring! 

The recipe is below and I am apologizing for the lack and quality of the pictures.  I had great photos on my phone that showed the entire process…… and I deleted them.  Oops!!


339250_10150430698860991_746720990_10686196_726917273_o 
Some of the completed treats, in the goodie basket, ready to be handed out. 

Candy Corn Marshmallow Pops
  • large marshmallows
  • lollipop sticks
  • Wilton Candy Melts in orange
  • Wilton Candy Melts in yellow
  • shortening
  • treat bags
  • floral blocks (from Dollar Tree – for drying)
Melt the orange candy melts following the instructions on the back of the bag and use the amount of shortening suggested. 

Dip a lollipop stick into the melted candy and immediately press it into a marshmallow. Insert sticks into all of the marshmallows, standing them on plates or sticking them in florist blocks to dry.

Once the candy holding the sticks has hardened (about ten minutes), dip 2/3 of each marshmallow into the orange candy and gently shake off the excess.

Place each marshmallow into the florist block to dry, making sure it does not touch any of its neighbors.

Allow the orange candy to dry for 30-60 minutes, then melt the yellow candy using the same method.
Dip the bottom 1/3 of each marshmallow into the yellow candy, and place it in the florist block to dry.

Once the candy has completely dried and hardened, put each marshmallow pop into a treat bag and tie with a twist tie. I added stickers to each bag that said “Happy Halloween from the Wright Family” and had our home address, in case any parents had questions about the homemade treats.

Notes:
  1. I started with 1/2 bag and added more candy and shortening as needed.
  2. Trust me, use the double boiler method to melt the candy.  Using the microwave was a disaster.  Did you know yellow candy melts turn brown and smell like caramel when they are overheated?
  3. I found dipping straight down caused a bit of suction action, so I perfected my “twirl against the side of the bowl” method.
  4. I scooped the leftover melted candy into a sandwich bag while it was still warm so it can be used again.
  325123_10150430698120991_746720990_10686185_1857792500_o 
Drying, after receiving the second color.