Showing posts with label fall. Show all posts

Friday, November 11, 2011

Pretty Pretty Fall Cupcakes!


Fall has arrived, with its gorgeous colors and crisp cool air, this is the perfect time for a bonfire. The hubby has soup cooking in the Crockpot, and I set about to baking. I wanted to make these from scratch but time did not permit that, so I used some good old Duncan Hines cake mix with some Betty Crocker frosting. Sometimes you just can’t go wrong with convenience.

Here’s what I used:


I had two cupcake pans handy too so that saved me some baking time, seeing as how a box of mix makes 24 cupcakes. I used the Betty Crocker whipped cream cheese icing which was FABULOUS as far as spreading over the cupcakes when they were cooled.

To begin, preheat the oven to 350 degrees. Gather your pans, mixes, and ingredients as listed on the box of cake mix. I used my vintage Tupperware mixing bowl with the little spout so I can pour the mix into the papers. I have used this since I was a little girl. (Thanks Mom, this little guy is still going strong!)


Mix the ingredients together as directed then place the cupcake papers in the pan.


Now you can start pouring the batter!


After all the batter is poured, stick these babies in the oven for about 20 minutes.


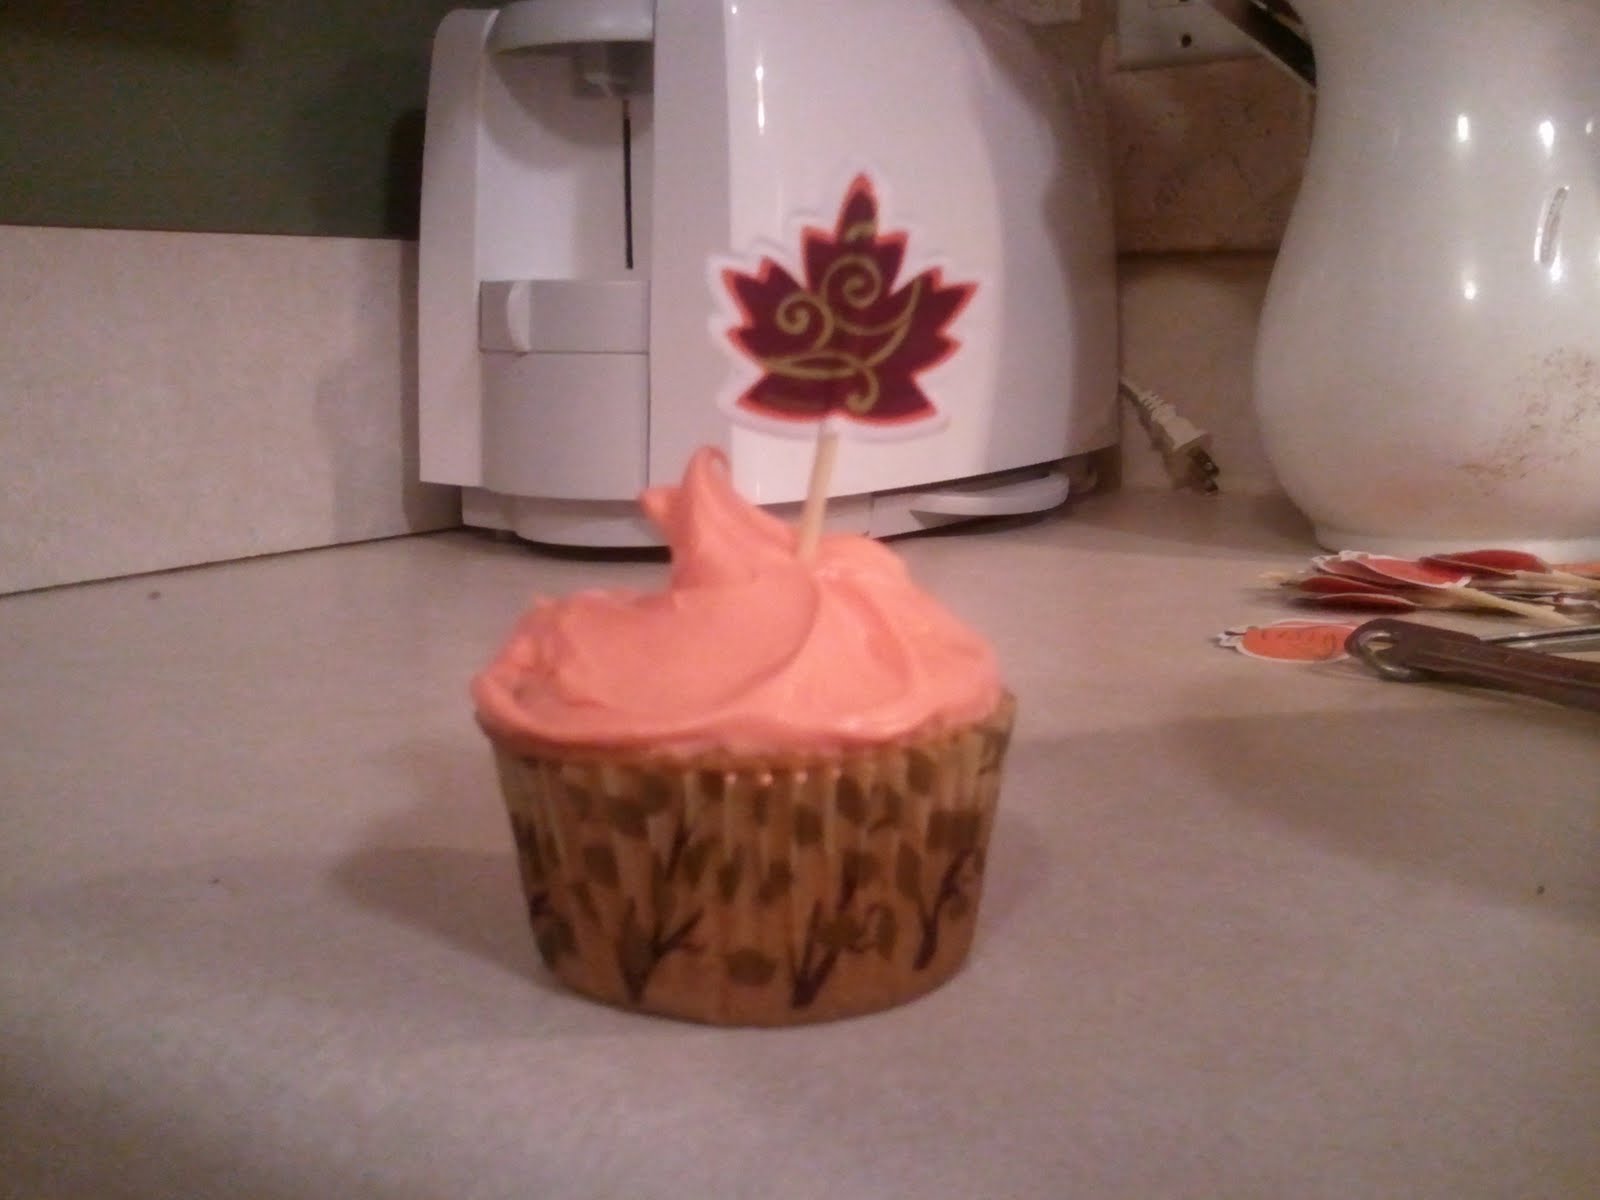
I wanted to make my cupcakes to be slightly customized, so I emptied the frosting into a bowl and used food coloring (yellow and red) to color the frosting orange. This frosting was excellent to work with.


I was very pleased at the color of orange the colors made, you can’t really tell in the picture below, but it’s really pretty. Promise.


In addition to colored frosting, I used cute little papers with toothpick leaves and pumpkins to top them. (That way it LOOKS like they could have been made from scratch…he he hee!!)


By the time you finish mixing the colors to the desired shade, the cupcakes will be ready to come out of the oven. Oohhh look!


Let them cool for another 15-20 minutes, then apply the frosting. Top off with a cutie patootie toothpick, arrange on a cute plate, and Ta daaa! Pretty Pretty Fall Cupcakes!!

Tuesday, November 8, 2011

Fall Floral Arrangement

Welcome to our Blog! I'm Shawna, and I finally made something this week. Woo hoo!

I am a collector of stuffs. I prefer vintage stuffs and try to re-purpose or use it for its original intent whenever possible. I find great joy in reviving items of old in today’s modern times. Luckily my friends and family feed that fire and take me to cool places that sell old stuff. This particular item caught my fancy at The Old Feed Store in Woodbury, TN where my Mamaw and I were shopping. (I get my love of collecting from Mamaw. I heart her!). This pitcher is a Jewel Homemakers brand tea pitcher with a missing lid. Oh darn, no lid. Guess who doesn’t drink tea? Yeah so I don’t care about the lid, plus that made it cheaper to purchase (under $20). I do however love to fill vases, pitchers and random whatnots with flowers.

Jewel Tea Pitcher

So, I ran to the good old Dollar Tree and found some neat fall foliage to stuff in my awesome tea pitcher.


It just so happens that the Dollar Tree also has floral foam too, so I grabbed some random shapes since I wasn’t sure what size would be best. You could measure your pitcher before buying floral foam, but where’s the fun in knowing exactly what you need for a project?


So, with foam in hand, I determine which shape to use. I had my heart set on the square. *sigh* So I used the smaller shape that actually fits perfectly in the pitcher. I ended up using two of these guys since the pitcher was quite tall. I could have shaved the corners off the square one and used it, but it was easier to just stack two small ones on top of each other.

Too short....

Now the fun starts, determine how you want your arrangement to look. I had an idea in mind from surfing the Michael’s website and viewing all the fall do-it-yourself arrangements. (Oh, and don’t forget you’ll need some floral cutters or heavy duty cutting pliers). Since I am not a professional, I Googled flower arrangements for help, and placed my focal flowers first, along with some sprays of grass. I placed the secondary flowers to fill in the voids. Then, I got so wrapped up in placing the flowers in the pitcher that I totally forgot to take progression photos….soooo….here’s the finished product!


I was pretty proud of this considering it’s my first floral arrangement ever. I did learn that it would probably look better with higher quality flowers, so the next floral sale at Hobby Lobby will be my next stop for the Christmas arrangement I will do. So with that in mind, go find a neat item from a yard sale, flea market, etc. and grab some flowers of your choice to fill it with!